Plants
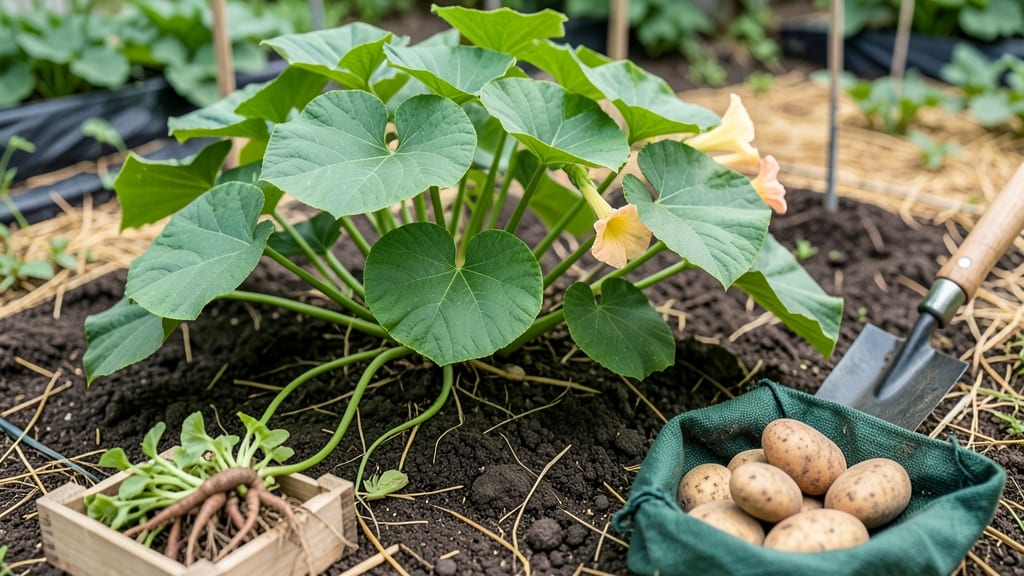
If you're wondering "when do you plant sweet potatoes in Florida", timing is the secret to avoiding stunted growth or wasted effort. Florida’s frost-free climate gives you two prime windows—spring and fall—but getting the details right makes all the difference for your 🍠 harvest.
Most gardeners in zones 9a-11 aim for March through May or September through October, when soil warms to 65°F and pests are less aggressive. Planting slips (sprouted roots) instead of seeds gives you a head start, but even the best varieties need the right conditions to thrive.
Harvesting in October-December or February-April rewards patience, but missing the window means smaller tubers or bitter flavors. I’ll show you how to align your planting with Florida’s heat and humidity for bigger, sweeter yields every time.
Ready to grow sweet potatoes like a pro? Let’s break down the exact steps to maximize your harvest this season—no guesswork required.
Florida sweet potato planting calendar: best months by region for optimal growth
Florida’s frost-free climate makes it one of the best states for growing sweet potatoes, but timing still matters to maximize yields. Unlike northern states, you don’t need to wait for spring—just ensure soil temperatures stay above 65°F for consistent germination.
The ideal window spans March through May and September through October, with regional variations that can shift your harvest by weeks.
North Florida (Zones 8a-9a) has slightly cooler soils in early spring, so aim for mid-March to early April for your first planting. Central Florida (Zones 9b-10a) can start as early as late February, while South Florida (Zones 10b-11) gardeners can plant year-round with staggered batches.
The key is avoiding peak summer heat, which stresses young plants and attracts pests like sweet potato weevils.
Here’s your Florida sweet potato planting calendar broken down by region, including soil temperature thresholds and ideal transplant dates:
| Region | Best Planting Window | Soil Temp Threshold | Harvest Window | Key Consideration |
|---|---|---|---|---|
| North Florida (Zones 8a-9a) | March 15–April 15 | 65°F+ | October–December | Avoid early March if nights dip below 50°F |
| Central Florida (Zones 9b-10a) | February 20–May 1 | 68°F+ | September–November | Stagger plantings for continuous harvests |
| South Florida (Zones 10b-11) | Year-round (best: March–May, Sept–Oct) | 70°F+ | October–April (fall/winter crops) | Use shade cloth for summer plantings |
For North Florida, focus on early spring plantings to avoid summer’s intense heat. Central Florida gardeners can extend their season with a fall planting in September, while South Florida’s longer growing season allows for two full harvests per year.
Always use slips (sprouted roots) instead of seeds—they mature faster and produce larger tubers.
Pro tip: Test your soil’s pH (5.8–6.5) before planting. Sweet potatoes thrive in slightly acidic soil, and amending with compost or peat moss can improve yields. If your soil is sandy (common in Florida), add organic matter to retain moisture and prevent tuber dehydration.
Watch for soil temperature fluctuations—if nights drop below 55°F, young plants may struggle. Use row covers or mulch heavily to maintain warmth. In South Florida, summer plantings require shade cloth (30–50%) to protect slips from scorching sun and pests like aphids.
Timing your plantings also helps avoid sweet potato weevils, which peak in late summer. By harvesting your main crop by October, you’ll miss the worst infestations. For a second harvest, plant slips in late August or September for a winter crop.
Remember: Florida’s 120–150-day growing season means you can’t rush planting. Start slips indoors 4–6 weeks before transplanting to ensure they’re 6–8 inches tall with 3–4 leaves when placed in the ground. This head start gives you a 3–4 week advantage over seeds.
Finally, mark your calendar for harvest signs: vines yellowing, leaves wilting, and tubers firm to the touch. In Florida, this typically falls between October and December for spring plantings and February to April for fall crops. Don’t wait too long—overripe tubers become woody and lose sweetness.
How to extend your sweet potato harvest season in Florida: tips for staggered planting
Florida’s long growing season lets you grow sweet potatoes almost year-round, but most gardeners stick to a single spring planting. The secret to a continuous harvest? Staggered planting in two batches—once in early spring and again in early fall—to avoid summer heat stress while maximizing yields.
For example, planting slips in March and again in September gives you harvests in July-August and January-February, respectively. This two-batch approach ensures fresh sweet potatoes on your table for months, not just a few weeks.
Here’s the key: Soil temperature must stay above 65°F for slips to root properly. In Florida’s summer, soil can hit 90°F+, which stresses young plants. That’s why fall planting works—cooler temps ease the transition.
- 🌱 Batch 1: Plant slips in March for a July harvest (100-120 days).
- ☀️ Batch 2: Plant slips in September for a January harvest (avoids summer heat).
- 🌡️ Soil Prep: Test soil temp—it must be 65°F+ before planting.
- 🌿 Shade Solution: Use 30% shade cloth for summer slips to prevent wilting.
- 💧 Watering: Deep soak every 2 days in summer; reduce to every 3 days in fall.
If you’re in North Florida (zones 8a-9a), add a third batch in late April for a September harvest. This extra window helps offset shorter growing seasons in cooler areas like Jacksonville or Gainesville.
For Central/South Florida, stick to the two-batch system—summer planting risks heat stress and pest outbreaks like sweet potato weevils.
Pro tip: Mulch heavily (4-6 inches of straw or pine needles) to keep soil cool and retain moisture. This is especially critical for summer slips, which struggle with Florida’s intense sun. Mulch also suppresses weeds, reducing competition for nutrients.
Finally, rotate planting spots yearly to prevent soil-borne diseases like black rot. Sweet potatoes are heavy feeders, so amend beds with compost or aged manure before each batch. With these adjustments, you’ll enjoy year-round harvests—no grocery store needed!